Monday, December 27, 2010

Happy Holidays!

The noborigama was a complete success and it seems everything came out well, but I haven't seen my pieces yet. I couldn't make it when they were taking the pieces out, but I'll pick them up today after work. (I'll post about the noborigama after new years)

Since the noborigama I had a few hours at the studio, where I tried to get rid of all my old clay so I can start fresh from the new year.

*Santa was made by a weekend student


First I made a cup and small vase last week which were too soft to carve this week. (Bizen clay) These will hopefully not be too dry after new years to carve.


Since I couldn't carve the vase and cup I made three new cups out of leftover bizen clay. These are also currently waiting to be carved. They should be fine until after new years.


Last but not least was a big leaf plate out of the last bizen clay I had. It's about 5mm thick and 20 cm wide. Of course it will shrink after drying and firing, but I'm hoping it'll be a good gyoza (aka Japanese dumplings) plate.


That's all for now! Happy Holidays and Happy New Year! See you in 2011!

Friday, December 17, 2010

Putting Around

It was a slow and relaxing day at pottery last night :) Since I don't have too much clay I've been taking my time with things and only making a few pieces each time.

I started with two cups that were a mix of leftover clays. Mostly bizen, black stone and red stone. They turned out pretty well, just simple normal cups. One classic cup shape and one wavy style cup.
I had three cups but once I took the last off the wheel it warped slightly when i placed it on the board to dry...so i decided to scrap it.

I had about 1 kg left of clay after wards so I made another free form plate. This one was much larger, 34cm diameter, 5mm thick.
Actually to get the roundness Arai Sensei has a fishing buoy lying around to form clay around. It looks pretty ridiculous in the studio but it works :)


I did my signature simple design on the front and called it a day. For now this will dry and won't get fired until next year.


The noborigama is finally tomorrow :) I'll do a three hour shift with everyone else but I'll most likely stick around and finish up some final work before the 2 week holiday vacation. I'm looking forward to all the delicious goodies everyone will bring tomorrow.

Japan has a lot of funny displays around for X-mas. I found these birds at a family restaurant near by. One has a Santa hat but the other a witch hat...haha Ohh Japan ><

Until next time!

Wednesday, December 15, 2010

Last few days

There are only 2 more days until the studio closes for the new year's holiday so I've been trying to finish all my little projects here and there so I can have a fresh start for 2011.


First is the supposed teapot I made awhile back. After thinking about it for two weeks, I decided to make a vase out of it. The size and shape were just too awkward to make it a usable teapot. It'll look better as a flower vase in the end.


I am a little worried about the top since it will most likely sink down past the outer walls. I tried to curve it upwards but it just wouldn't stay...I'm hoping the clay won't give too much.

For now this will dry and get fired from next year.


I'm thinking this color for the vase, I like the simpleness and the brown contrast on the rim and handle.

*This cup was made by Miss Yamaguchi, Thursday night student.


Remember this cup from awhile back? Well I cracked it and hoped another trip to the kiln would seal the glaze back together and make it like new again.


Well that idea didn't work out...It cracked even more and left a space in between, which you can see in this picture. Since I like the cup I decided to try to salvage it anyways since even with the space it's still usable. I mixed some bonding agent (like a strong plastic) together and put it in between the gap. It'll dry for a few days and I'll grind away the excess later on. Darn, I really like this cup!

I also made a free form plate yesterday out of leftover black stone clay. It's about 20cm wide and 5mm thick. Perfect size for dinner. (Pasta, salad, curry etc)


Of course I can't resist putting the small warts on the black clay so that is exactly what I did :)


With a little scoring and water they fit in perfectly.


After adding about 20 balls the finished result is this. I plan on using kohagi glaze since it goes so well with black stone clay. The end result should look like this.


This Saturday is the Noborigama! Can't wait!

Until next time :)

Monday, December 13, 2010

Into the Nobori

It's less than a week away until the last noborigama of 2010! This time around I have tons of pieces going inside.

The piece I'm looking forward to the most is the teapot I slaved over for nearly 6 weeks. It has finally been bisque fired and glazed.

Since I used bizen clay, I decided to only glaze certain parts of it since the noborigama will bring out great natural colors from the clay. The glaze is A, a bright blue glaze which will accent well with the rich brown and gold color of the clay.


A birds eye view. The cup on the top is A glaze. I poured the glaze on the teapot since I love the effect. I want it to seem that someone just splashed a beautiful blue color on it.


The resulting color should look something like this. (My mothers plate from September) I love the blue and gold specs from the clay. The outline of the glaze is also neat, hope it turns out similar!


Besides my beloved teapot, I have many more pieces going in! Some are pictured below :)


Until next time!

Thursday, December 9, 2010

Grinding Away

Real heat has finally come to Sara Yama Studio! A brand new GIANT kerosene heater was bought :) This baby is no joke! After 10 minutes the entire place was toasty and warm :D I'm so happy! It's so much easier to work on things now that my hands won't be half numb.
I hear next AC will be coming, but not for a new more years, sadly I won't be around for that. Maybe next is heated water? Here's hoping...


Anyways, a few things have come out of the kiln. I apologize for the terrible photos! I give up on my smart phone camera, the color and focusing is just terrible...

First is this large coffee cup. Mixed clay with a few swirls of U underneath and L glaze on top. Turned out well, a very mild green blue.

Here is an close up of the two glazes. U is the darker accent color and L is the base.


Next was the lamp I've been waiting forever for. This is pretty small, maybe softball size with holes allowing light to shine through. Eventually I'll head to the hardware store and find a small lightbulb and cord to put inside.
Bizen clay with M glaze. It turned out exactly how I thought it would :)


Last was another coffee cup. (This pic is terrible!) The color turned out magnificently on it! Mixed clay, base of E glaze (nice red) and dipped the rim in U glaze. The combo was great! And the flow of U onto E looks great :)

But there was one problem, both E and U run very easily so....


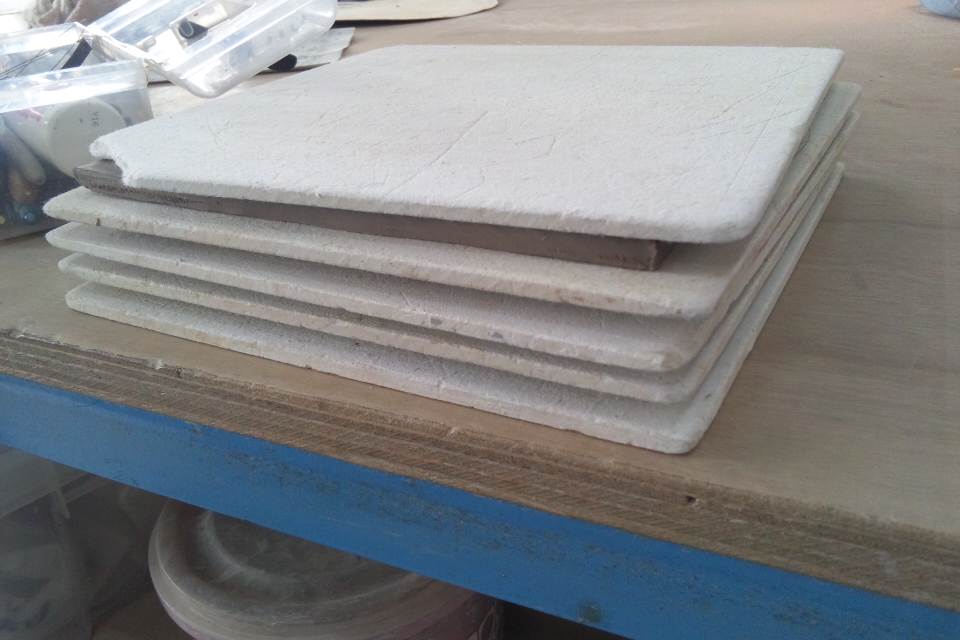
I had a lot of glaze stuck to the bottom. Luckily Arai Sensei could chip it off the stone plate inside the kiln. (More so than not, the pieces end up cracking if they're too difficult to pry off) I've seen worse cases then mine, but this is slightly a lot of glaze on the bottom.


But not to worry, if done the right way, this piece is salvageable.

First I picked off as much of the glaze as I could with my fingers, but it wasn't much. So the next step is to grind it off.
There are two grinders at the studio, one is a hand held grinder (pictured left) and the other is a wall mounted circle grinder. The hand grinder is more so for small amounts of glaze, it's easy to handle and there is a less chance of messing up.


But of course safety first! Always wear goggles and try to wear a dust mask while using any sort of grinder. They give off a lot of dust and occasionally large pieces of glaze will come flying up into your face. Sara Yama Studio has really cool safety glasses too! OOhhh Yeaaah. Thumbs up :D


I started out with the hand grinder but soon realized I'd be grinding away all night if I continued using it. So I switched to the mounted grinder outside, which is much faster and stronger, making it easier to grind away too much and leave the base uneven. (Def. not good for a cup)
After about 15min of grinding, I finally got most of the glaze off. (Sorry no pictures of the mounted grinder, it was too dark) I had a few scuffs but all in all the base came out very well and the cup is even.
Here is the finished product.
I was either lucky with how this turned out or my grinder skills have gotten better. It looks like there was never any glaze melted there in the first place :) I'll be more careful next time and make sure I leave some leeway for the glazes to melt so I won't have to waste time doing this again.

Monday, December 6, 2010

Drink Set

Remember these? The cups from awhile back? Well they have finally been fired.

Four cups and one small pitcher makes the set.
Bizen clay with an accent red color. RF firing.

I made the group with two sets of different sized cups. Two tall cups, maybe for hot sake, and two short cups maybe for iced sake.


Here is the biggest piece, the pitcher. It holds about 250mm of liquid. Perfect for nihonshu or shochu (both are types of Japanese sake) The red brush strokes stand out a lot on this piece.

Having a something like this in your kitchen is pretty convenient. You can use it for many things besides sake. It's useful for when you're cooking, adding liquids into a pan, serving gravy or sauces at the dinner table, or storing extra juice or tea.


Here are the two tall cups, as you can tell, they're not perfectly symmetrical. I did that on purpose since I think it's more interesting to have a matching but yet non matching set instead of all the all same thing. You can buy the same shapes at normal stores, but it's harder to find the same series with different shapes and sizes. I guess I'm going for a one of a kind type of thing.
If you're not a big sake fan, they could be small flower vases :)


Here are the shorter two. Besides sake, these cups could also be used for tea.


Here is a close up of the coloring. I love L glaze since it has this beautiful cracking. The color is also mild and easy on the eyes. It goes well with bizen clay and this red accent under glaze.

An interesting thing about finished pieces like this is when you take them home they have to adjust to the temperature and humidity. So The glaze will crack according to the environment it's in. The cracking makes a beautiful sounds too, a light "ping" sound which is actually the glaze settling into the piece.

Another cool fact is bigger pieces will continue to "ping" occasionally here and there for many months, sometimes years. The big turtle I made will still occasional "ping," especially when the seasons are changing. Pretty neat :D

Until next time!

Friday, December 3, 2010

All By Myself

Arai Sensei was out sick and all the other students who come on Thursday nights were absent so I was the only one in the studio. It was a little eerie at first but after I connected my i-pod to the stereo it was awesome! I had a little taste of what it would be like having my own studio.


First I worked on two black stone cups I made a few weeks ago. They got shaved and handles attached, they're drying and will hopefully be bisque fired before the noborigama.


I also had a huge chunk of mixed clays ready for the wheel. (Sorry this picture is out of focus, I took it in a hurry) I made the pieces in order from left to right.
The flower looking bowl was going to be a plate but I stretched it on the wheel too much and it started to get wobbly. I decided to go with it and make something a little more artsy this time. I love these types of free form shapes and it can still be used for food since it is big enough.


The middle bowl is just a simple everyday use bowl, maybe cereal, oatmeal, curry or salad.
Far right bowl is a simple soup bowl. It's pretty deep and can hold about 300mm of liquid. Maybe useful for miso or chicken noodle :)

I didn't feel like dealing with the square teapot body so it's still sitting in the styrofoam box. Maybe next week I'll decide its future.

Arai Sensei said he should be back next week. Hope he feels better! It was great having the place to myself, but a little lonely!

Until next time :)

Thursday, December 2, 2010

Another Teapot?

Yes, maybe another teapot is in the works. The wheel thrown teapot turned out pretty well (still waiting to be bisque fired) and since then I've been dreaming about a having a square teapot as well. I've been paging through my Lark Book (500 Teapots) and have come across quite a few which I love. Basically the book was inspiration to create a hand built teapot, which I'll detail about below.

Creating a block type object requires straight and measure slabs of even clay. So first I had to roll out the clay to even thickness, and cut to my desires measurements. 18cmx18cm base and 10cm tall sides (square teapot)


Using the fleshly cut and rolled out clay isn't practical since it's still way to soft to stand on its own. So I let mine sit for 2 days in a Styrofoam box with some towels. Once I took the pieces out they were still a little wobbly so I stacked them between drywall boards to suck up some more moisture. This step is a little tricky since you have to keep checking them about every 5 min to make sure they're not getting too dry. (otherwise they'll crack)

The it's time to start putting those pieces together. I scored the edges where each piece would attach and used liquid clay (super soft clay goop type stuff) and a brush to make sure everything was attached. Of course there were some spots that needed a little extra so I had some soft clay on hand to smooth out edges and fill in gaps.


Next it was time for the top to be put on, the trickiest part. I wanted a very square like shape so to make the lid coincide with the base being level after firing, I had to make it slightly curved. When clay is fired it always sags a bit so you have to predict and make up the difference. A slight curve will ensure the top comes out level. (and of course I couldn't forget the hole on the top to put hot water inside)


After sealing and sag preparation is done it looks something like this. There is newspaper stuffed inside to make sure the top doesn't drop down while waiting to be bisque fired.

It looks nice but to my dismay its pretty heavy and I'm just not into it. I have the tendency to make things too small and regret it later, but this time I tried not to do that and ended up with something too big. Probably 15cm would've been better than 18.

It's currently waiting for me in the styrofoam box, but most likely it'll turn into a vase or get doused with water and remade. *Sigh...