 The pie pan has been finished. I carved and attached handles to it last night.
 Here is a view from above. I didn't want just plain handles so i made a flower petal type design to make it more fun.
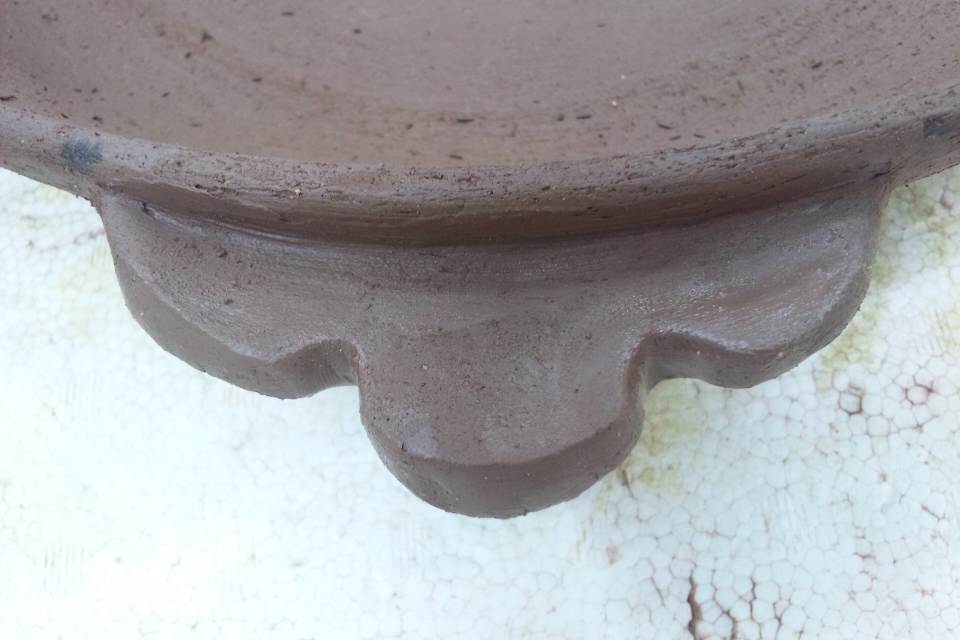 I cut a paper guide first before cutting the clay and attaching it to the pan. I love how it turned out and can't wait to glaze it :)
 Next were my two two pots. I've carved the bodies and lids and attached the handles at the top. Both turned out well after carving, nice and light and a fun shape.
 But before you can call it a teapot you must attach the spout. Originally I made three spouts so I could choose which ones I liked best. In the end I went with the left and middle spouts.
 I'll go over the spout quickly since I have given a detailed explanation on this post.
First I have to decide where and at what angle I want the spout at, so I put it on a pedestal.
 Next it's time to eye ball it. Arai Sensei helped me out here since I forgot the exact way. Basically you want the spout's mouth up so water won't drip out. After you find a good spot you use a marker to draw a line on the spout. This is the guideline for where to carve.
 Carving is a pain and can't be rushed. Slowly bit by bit at a time I scrapped away at it to get the best fit. You can see the guidelines and where I've carved in this photo.
 After its carved it went into water to soften up for a few minutes.
 before placing the spout in the water I outlined its shape and cut a hole according to it's shape. I scored the edges and applied liquid clay to ensure a strong bond with the spout.
 After the spouts were firmly attached I made 4 small handle holders.
 I attached them to the front and back.
 Here they are after being finished!
 They turned out well, now time to dry and get bisque fired.
These are all made from nabe clay so they must be fired at a lower temperature. It will be awhile until they are finished.
Until Next Time!
No comments:
Post a Comment